Emacs Extensions for
GE Smallworld Magik Development
Screen-casts, tutorials, and productivity tools for Magik programmers who use Emacs. From tab-mode and code folding to the Magik Debugger and object inspector — explore features built by a developer, for developers.
Learn MoreNine screen-casts published between November 2010 and January 2011 — covering everything from ECB mode to the Tree Item GUI control. Read the story behind the project →
Get in Touch
Setting Up Magik Mode in Emacs for the First Time
Magik remains one of those quietly enduring programming languages, kept alive in part because the domains it serves, including geographic information systems, utility networks, and large-scale asset registries, still depend on it. For developers working with GE Smallworld, the editor of choice has long been Emacs, a tool whose flexibility makes it ideal for navigating object-oriented Magik code, querying databases, and stepping through sessions in the Smallworld Virtual Machine. Setting up Magik mode for the first time can feel intimidating if you have not previously configured Emacs for a niche language, but the process is straightforward once you understand the parts.
In Australia, Magik practitioners tend to cluster around utilities and resource companies headquartered in Melbourne, Brisbane, and Perth, with a sprinkling of consultancies in Sydney and Adelaide. Many of these teams have inherited Emacs configurations from senior developers who never quite got around to documenting them, which is one reason a clean first-time setup is worth doing properly. The goal is a reproducible environment that loads quickly, highlights syntax sensibly, and gives you fast access to method definitions and object inspectors.
This guide walks through installing the mode package, writing a minimal but extensible configuration, and tailoring Emacs so that it behaves like a comfortable Smallworld development environment. It assumes you already have Emacs installed and a working Magik Smallworld environment reachable on your machine, and it draws on workflows common to consulting work delivered by HydePark Consulting across Australian utility clients.
Checking Your Emacs Version and Prerequisites
Before adding any package, it pays to confirm which Emacs you are actually running. Many corporate workstations in Australia still ship with a default GNU/Linux distribution Emacs, often version 26 or older on long-lived CentOS and RHEL-derived servers used in SCADA-adjacent environments. Modern Magik mode assumes at least Emacs 27, and several newer convenience features only appear from 29 onwards. You can check by running M-x emacs-version inside Emacs or by typing emacs --version in a terminal.
You will also want to ensure that a few built-in facilities are available. Magik mode relies on the cl-lib package, font-lock for syntax colouring, and a recent version of package.el for installing extensions. On a fresh build these are normally present, but heavily customised corporate images sometimes strip them out. A quick way to verify is to evaluate (featurep 'cl-lib) in the scratch buffer; if it returns t, you are good to proceed.
Network access is another practical consideration. The instructions below fetch packages from MELPA, which means your machine needs to reach the relevant Git repository. If you are behind a corporate proxy, as many Brisbane-based utility consultancies are, you may need to set url-proxy-services in your init file or export http_proxy and https_proxy before launching Emacs. Once these prerequisites are satisfied, you are ready to add the mode itself.
Installing Magik Mode from MELPA
The canonical distribution point for Emacs packages these days is MELPA, and the Magik mode package lives there under the name magik-mode. You add MELPA as a source by placing a few lines near the top of your init.el (or .emacs) file:
(require 'package)
(setq package-archives '(("melpa" . "https://melpa.org/packages/")))
(package-initialize)
After saving the file, restart Emacs and run M-x package-refresh-contents followed by M-x package-install RET magik-mode RET. The mode will be downloaded into your elpa directory, usually located under ~/.emacs.d/elpa. At this point you can technically open a .magik file and see syntax highlighting, but you have not actually told Emacs to associate the mode with that extension yet.
To make the association automatic, add a line such as (add-to-list 'auto-mode-alist '("\\.magik\\'" . magik-mode)) to your init file. Many Australian Magik teams also work with .msf files for Smallworld session fragments and .dat files for various data extracts, so it is worth adding entries for those too if your workflow uses them. Reload your configuration with M-x eval-buffer or restart Emacs, and the mode will bind itself to every Magik source file you open from then on.
Configuring the Basics in init.el
A bare installation gets you colouring, but the real productivity gains come from a small block of configuration. The most important variable to understand is magik-mode-hook, which runs every time the mode is activated. Anything you place inside this hook is executed once the buffer is ready, which makes it the right place to enable local convenience settings.
For a typical first-time setup, you might want to enable automatic indentation, set a comfortable tab width, and turn on electric-indent-mode. Many Smallworld developers in Melbourne and Adelaide have inherited house styles that prefer two-space indentation, so a line such as (setq magik-indent-level 2) keeps you aligned with your colleagues' code. You can also configure the path to your Smallworld session so that M-x magik knows where to launch the interpreter, which is essential if you frequently switch between editing and running live sessions.
Configuring the imenu expression early is also worthwhile, since it powers the method navigator at the top of your Emacs window and populates it on every buffer switch. A minimal starter block looks like:
(add-hook 'magik-mode-hook
  (lambda ()
    (setq indent-tabs-mode nil)
    (setq magik-indent-level 2)
    (magik-imenu-setup)
    (electric-indent-local-mode 1)))
Key Bindings and Navigation Shortcuts
Once the mode is loaded, the quickest way to feel productive is to learn the core key bindings. Magik mode exposes several prefixed command groups that follow Emacs conventions. Most commands use the C-c prefix, which is reserved for user bindings and avoids clashes with built-in commands. Typical entries include C-c C-c to send the current method to the Smallworld session, C-c C-e to evaluate an expression, and C-c C-r to evaluate a region.
Navigation is where Emacs really earns its keep. M-. jumps to the definition of the method or procedure under the point, using the tags generated by the Smallworld session. This is the feature that replaces the GUI-based "go to definition" offered by visual IDEs, and once you internalise it, browsing a multi-thousand-line Magik module becomes almost pleasant. The companion command M-, pops you back to where you came from, so you can trace through a call chain without losing your place.
For teams that share conventions, it is worth binding a few extra commands locally. A binding like (local-set-key (kbd "C-c C-g") #'magik-goto-method) makes method navigation accessible from the home row. Australian Smallworld teams often write code that mixes procedural and object-oriented styles, so adding a binding for magik-list-methods and magik-show-callers helps when you are trying to understand unfamiliar modules inherited from previous contractors.
Debugging and Inspecting Objects
Beyond writing code, most Magik development revolves around debugging live sessions and inspecting the objects that flow through them. The Magik mode for Emacs integrates with the Smallworld debugger through a TCP connection, which means you can step through code, set breakpoints, and examine the call stack without leaving your editor. The first time you run M-x magik-debug-session, Emacs will prompt you for the host and port of a running session; once connected, breakpoints set with C-c C-b are sent across the wire.
Object inspection is handled by magik-inspect, which prints a structured view of a Magik object's slots, parents, and methods. This is far more useful than the bare :inspect REPL command because it renders the output as a navigable buffer with hyperlinks. You can click into nested objects to inspect them in turn, which is invaluable when you are chasing down a property on a deeply nested GIS feature. For teams in Sydney who frequently work with cadastral data, this kind of recursive inspection is often the difference between a five-minute investigation and an afternoon lost in the Smallworld GUI.
For more dynamic work, magik-eval-expression sends a single line to the live session and prints the result inline, and magik-eval-region provides a lightweight REPL experience that pairs nicely with the method navigator. Many HydePark Consulting engineers keep a scratch buffer open for evaluating expressions against a long-running Brisbane-based utility session, which becomes second nature once the mode is set up properly.
Customising Faces, Themes, and Indentation
After the basics are working, most people want to make the editor feel like their own. Magik mode defines a small set of faces for keywords, constants, method names, and the Smallworld-specific @ prefixed directives. These respond to the standard custom-theme mechanism, so you can override them in your private theme or simply adjust them with M-x customize-face. Dark themes are popular among Australian developers working in Perth mining control rooms where the ambient lighting is low, but the mode ships with reasonable defaults that work on both light and dark backgrounds.
Indentation deserves a paragraph of its own because Magik has a few syntactic forms that trip up naive configurations. Multi-line method calls, chained >> operations, and block-style conditionals all need careful indentation rules. The mode's built-in magik-indent-function handles the common cases, but if your team uses a particular house style, it is worth defining a small override that biases towards your preferred alignment. A line such as (setq magik-continued-statement-offset 4) controls how continuation lines are indented, which is often the single biggest source of disagreement when merging code between consultants.
You can also customise comment styles. The mode binds standard commands such as M-; to insert line comments with the # symbol, and multi-line comment blocks can be configured with M-x magik-insert-comment-header. If you work in regulated industries, such as the water authorities around Adelaide or the gas distributors in Victoria, this is where to insert licence headers and audit-trail comments at the top of new files.
Troubleshooting Common First-Time Issues
A handful of problems tend to surface during a fresh install, and recognising them early avoids wasted hours. The most common is that syntax highlighting does not appear at all, which usually means the file extension is not bound to magik-mode in your auto-mode-alist. Check with M-x describe-mode in the buffer; if it reports Fundamental mode rather than Magik mode, your association is missing or incorrect.
Another frequent issue is that M-x magik fails to launch a session with a connection-refused error. This points to the Smallworld session not being reachable on the configured host and port, which can happen if the session is firewalled, sleeping, or pointed at a different Magik image. Double-check the values in magik-session-alist and confirm the session is accepting connections by telnetting to the port from a separate terminal.
Finally, if method navigation returns "no tags table", you may need to regenerate the TAGS file for your source tree. Running M-x magik-create-tags-table against the root of your module rebuilds the index used by M-., which is sometimes necessary after pulling fresh code from version control. Once that completes, jumps to method definitions will resolve correctly and the workflow will feel coherent.
If you are looking for a hand getting the rest of your team's environment aligned, or you need a tailored Magik mode configuration for a specific Smallworld deployment, HydePark Consulting offers practical setup workshops and ongoing support for Australian Magik teams. Reach out via the contact page to book a session or ask about bespoke extensions to the mode.
Core Features
Tab Mode & ECB
Quick tab switching and Emacs Code Browsing mode for navigating Magik codebases efficiently.
Magik Smeller
Code analysis tool that helps identify potential issues in Magik source files.
Code Folding
Hide/Show mode for collapsing and expanding Magik code blocks to focus on what matters.
Visual Bookmarks
Quick visual bookmarks for jumping between key locations in your Smallworld session buffers.
Object Inspector
Inspect Magik objects and display them in an Emacs Deep Print buffer for detailed examination.
Magik Debugger
Set breakpoints and monitor slots and variables directly from within Emacs.
Development Tools
Direct links between Emacs and the Smallworld Development Tools application, including Click Monitor.
Screen-casts & Tutorials
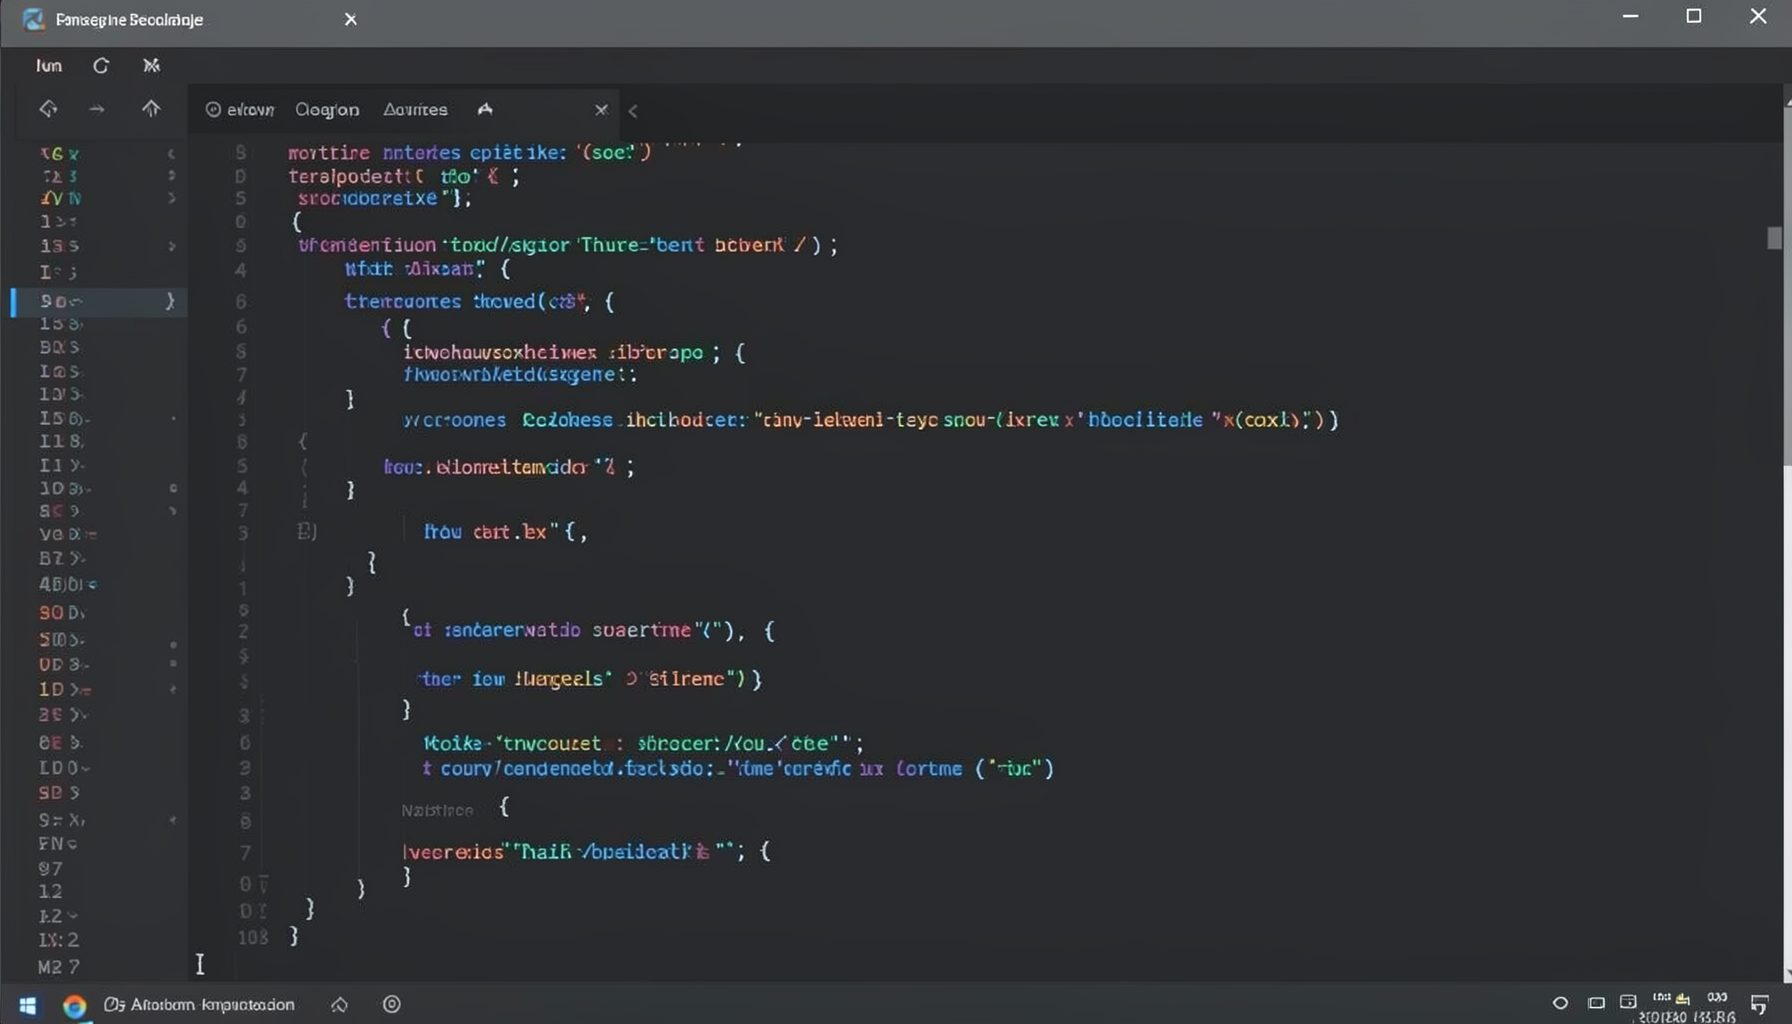
Screen-cast 1: Tab Mode, ECB & More
Covers tab-mode, ECB, Magik Smeller, code folding, visual bookmarks, pragma toggling, moving code, external editor, and MS Explorer.
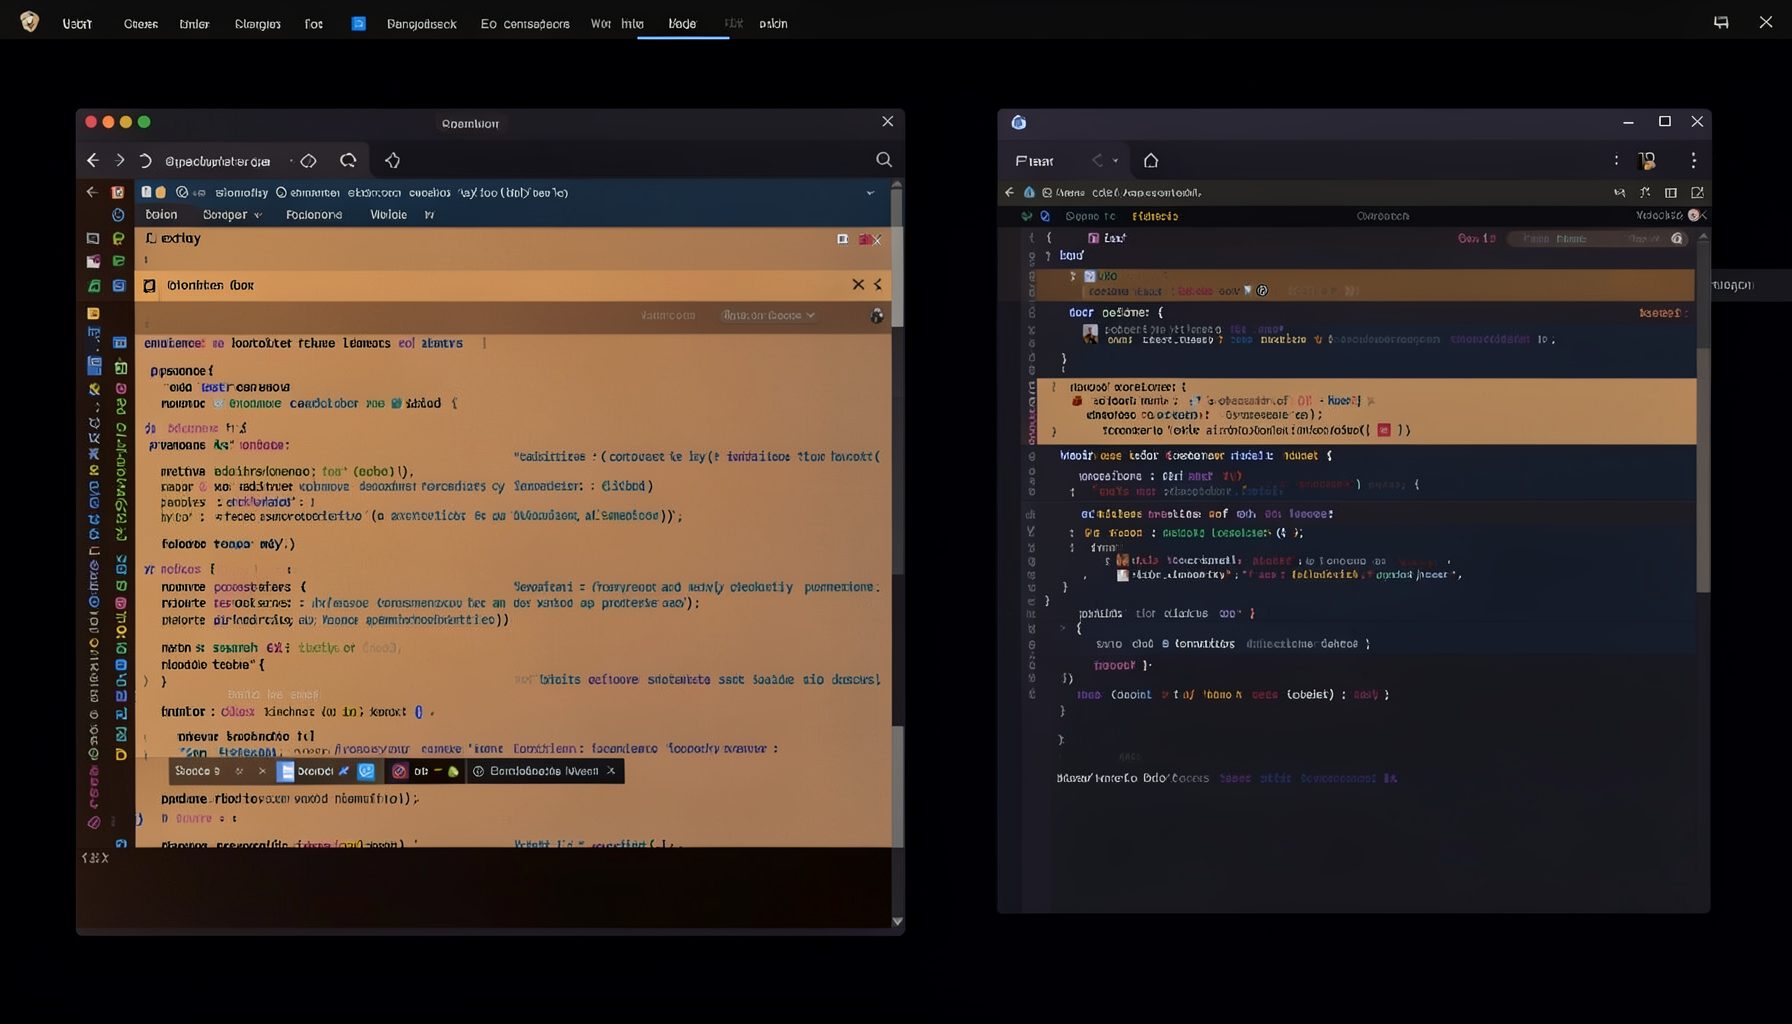
Screen-cast 5: Object Inspection & Deep Print
Inspect a Magik object, prompt for an expression evaluated within a Smallworld session, and display results in a Deep Print buffer.
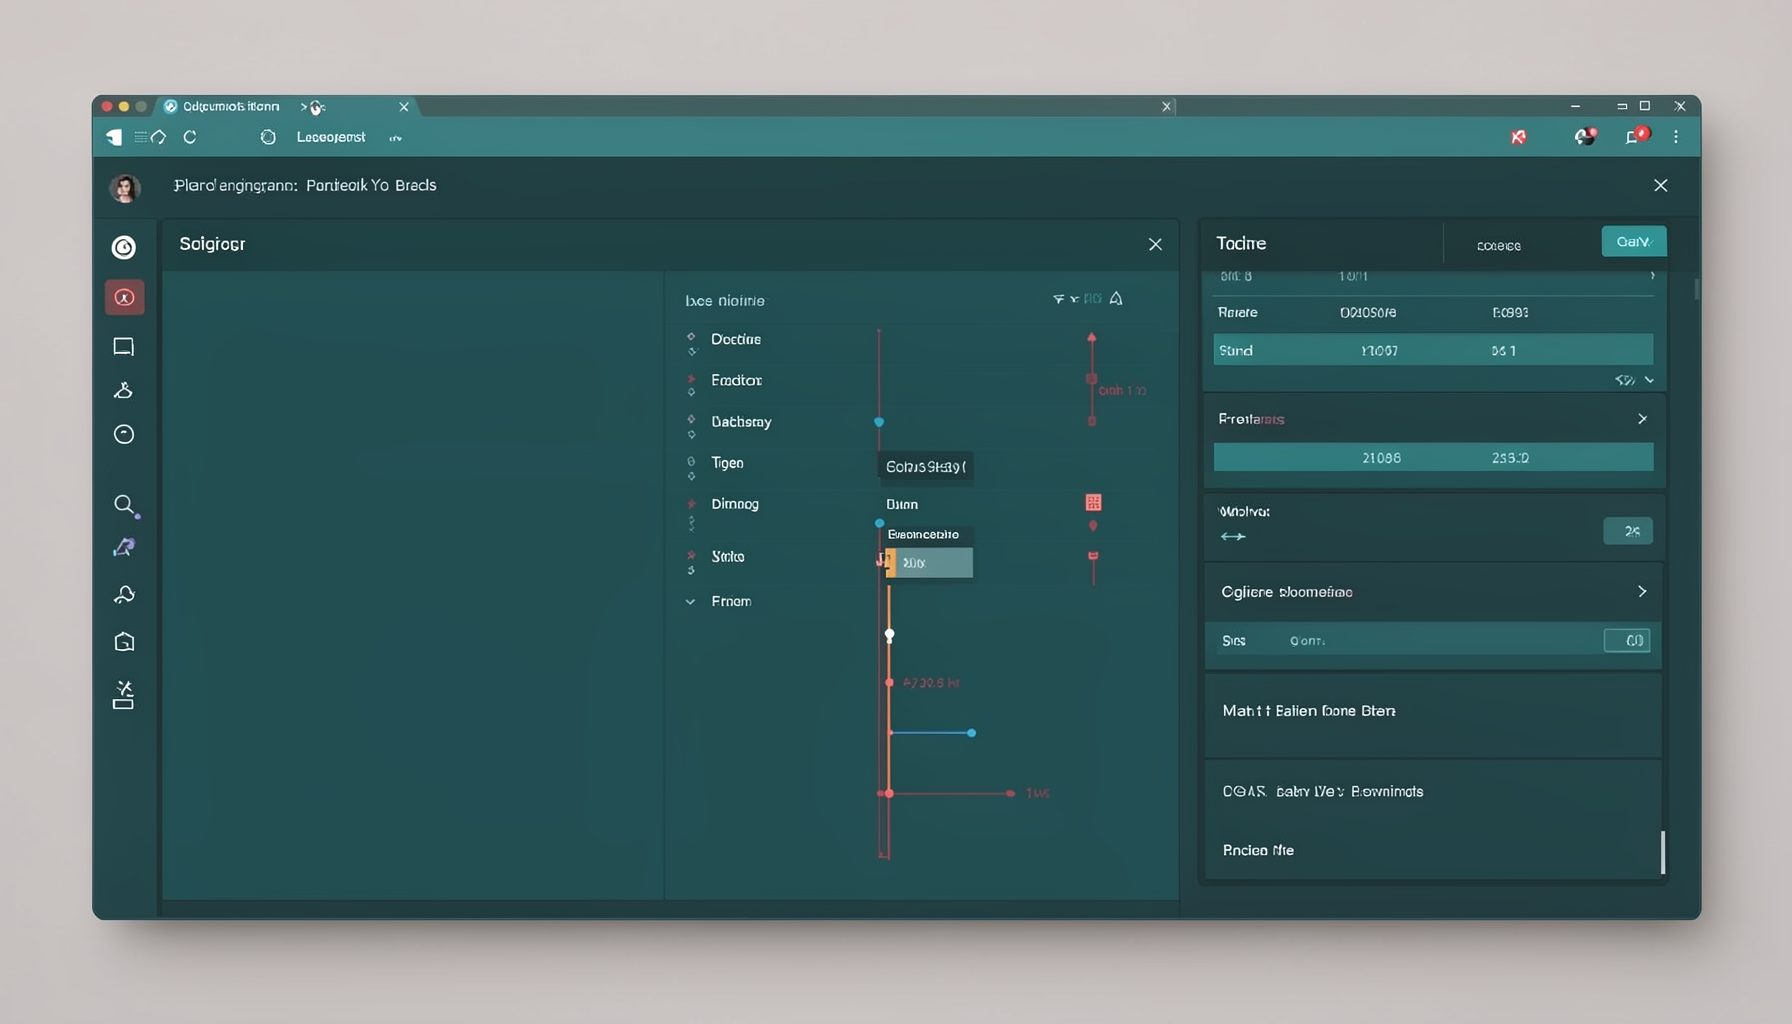
Screen-cast 7: Magik Debugger
Useful tools for application developers: Object Inspector and Magik Debugger with breakpoints and slot/variable monitoring.

Screen-cast 9: Tree Item GUI Control
Tree Item is a GUI control providing extensive facilities for displaying lists with rows, columns, trees, and in-place editing.